
Introduction
When I first heard about composting, I thought it was something only hardcore gardeners or eco-warriors did. But after learning how easy—and impactful—it can be, I decided to give it a try. To my surprise, composting not only transformed my garden soil but also helped me reduce waste and live more sustainably. If you’ve ever wondered how to turn kitchen scraps and yard waste into “black gold” for your plants, this guide is for you. In Compost 101, we’ll walk through everything you need to know about composting: what it is, why it matters, and how to do it effectively. By the end, you’ll be ready to start your own compost pile or bin and contribute to a healthier garden—and planet.
Step 1: Understanding Composting
Before diving into the “how,” let’s explore the “what” and “why” of composting.
1.1 What Is Composting?
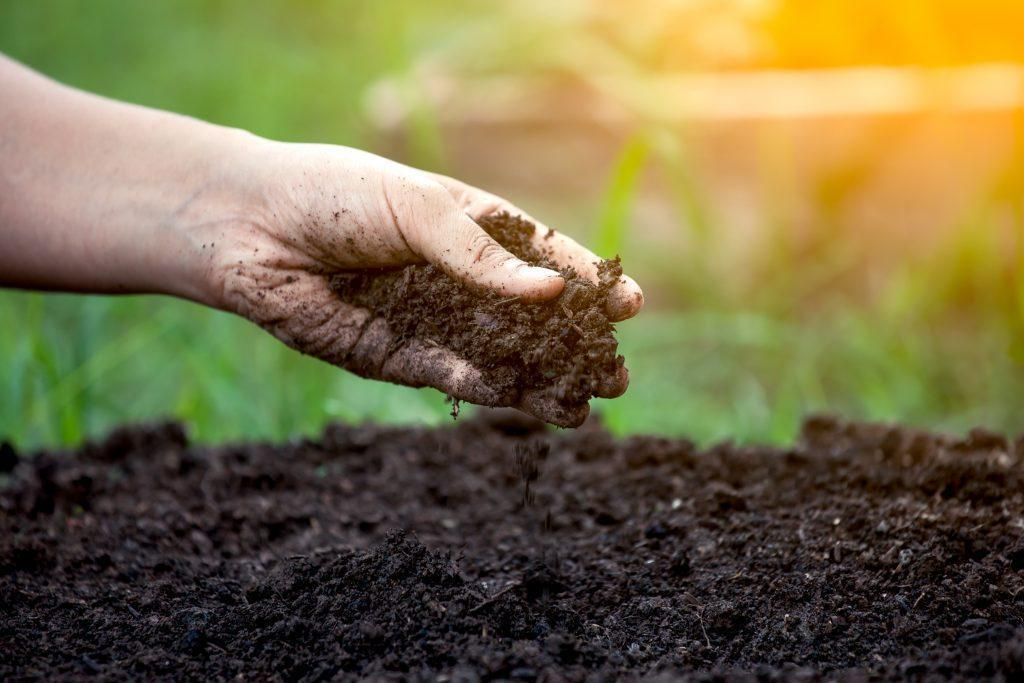
Composting is the natural process of breaking down organic materials—like food scraps, leaves, and grass clippings—into nutrient-rich compost. This dark, crumbly material is often called “black gold” because it enriches soil, improves water retention, and provides essential nutrients for plants.
1.2 Why Compost?
Composting offers numerous benefits:
For Your Garden: Compost improves soil structure, adds nutrients, and promotes healthy plant growth.
For the Environment: It reduces landfill waste and lowers greenhouse gas emissions by diverting organic matter from decomposition in anaerobic conditions (which produces methane).
For You: Composting saves money on fertilizers and creates a sense of accomplishment as you recycle waste into something valuable.
1.3 The Science Behind Composting
Composting works through the action of microorganisms, fungi, and insects that break down organic matter. These decomposers need four key elements to thrive:
Carbon (Browns): Dry materials like leaves, straw, and cardboard provide energy for microbes.
Nitrogen (Greens): Wet materials like vegetable scraps, coffee grounds, and grass clippings supply protein.
Oxygen: Aerobic decomposition requires airflow to prevent odors and speed up the process.
Water: Moisture helps microbes break down materials efficiently.
Step 2: Setting Up Your Compost System
The next step is choosing a composting method that fits your space, lifestyle, and goals.
2.1 Types of Compost Systems
There are several ways to compost, depending on your needs:
Backyard Piles: Simple and cost-effective, ideal for large yards. Build an open pile or enclose it with wire mesh or wooden pallets.
Compost Bins: Store-bought bins or DIY versions keep compost contained and tidy. Great for small spaces.
Tumbling Composters: Rotating drums make turning compost easier and faster. Perfect for beginners who want convenience.
Vermicomposting: Uses worms (usually red wigglers) to break down food scraps indoors. Ideal for apartments or cold climates.
Bokashi Composting: Ferments food waste using special bran inoculated with microorganisms. Works well for meat, dairy, and cooked foods.
2.2 Choosing a Location
Place your compost system in a convenient spot:
Near the kitchen for easy access to food scraps.
In partial shade to prevent overheating or drying out.
On bare earth to allow drainage and attract beneficial organisms.
Step 3: What to Compost (and What to Avoid)
Not all organic materials belong in your compost pile. Knowing what to include—and exclude—is crucial for success.
3.1 Greens (Nitrogen-Rich Materials)
These items heat up your pile and accelerate decomposition:
Fruit and vegetable scraps
Coffee grounds and tea bags
Fresh grass clippings
Plant trimmings
Eggshells (crushed)
3.2 Browns (Carbon-Rich Materials)
These provide structure and balance moisture levels:
Dry leaves
Straw or hay
Shredded paper or cardboard
Sawdust (from untreated wood)
Twigs and small branches
3.3 What NOT to Compost
Certain materials can attract pests, create odors, or harm plants:
Meat, fish, and bones (unless using bokashi)
Dairy products
Oily or greasy foods
Pet waste (may contain pathogens)
Diseased plants or weeds with seeds
Glossy or colored paper
Step 4: Building and Maintaining Your Compost Pile
Now that you’re set up, it’s time to build and maintain your compost pile for optimal results.
4.1 Layering Materials
Start with a base layer of coarse browns (like twigs) for airflow. Then alternate layers of greens and browns:
Aim for a ratio of 2 parts browns to 1 part greens by volume.
Chop or shred larger materials to speed up decomposition.
4.2 Turning the Pile
Turning introduces oxygen, which speeds up the composting process:
Use a pitchfork or shovel to mix the pile every 1–2 weeks.
Move materials from the center to the edges and vice versa.
4.3 Monitoring Moisture
Your pile should feel like a wrung-out sponge—not too wet, not too dry:
Add water if it’s dry; mix in dry browns if it’s soggy.
Cover the pile with a tarp to retain moisture during dry spells.
4.4 Checking Temperature
A healthy compost pile heats up as microbes work. Use a compost thermometer to monitor:
Temperatures between 120°F and 160°F indicate active decomposition.
If the pile cools down, turn it or add fresh greens to reheat.
Step 5: Troubleshooting Common Issues
Even experienced composters encounter challenges. Here’s how to address them:
5.1 Smelly Compost
Odors usually mean the pile is too wet or lacks oxygen:
Turn the pile to aerate it.
Add more browns to absorb excess moisture.
5.2 Slow Decomposition
If your compost isn’t breaking down quickly enough:
Chop materials into smaller pieces.
Ensure proper moisture and aeration.
Add nitrogen-rich greens to boost microbial activity.
5.3 Pests and Rodents
Unwanted visitors are often attracted to improper composting practices:
Avoid adding meat, dairy, or oily foods.
Bury food scraps under a layer of browns.
Use a sealed bin or tumbling composter.
Step 6: Harvesting and Using Your Compost
After weeks or months of care, your compost will transform into rich, dark humus. Here’s how to use it:
6.1 When Is Compost Ready?
Finished compost looks like dark, crumbly soil and has an earthy smell. Sift out any undecomposed materials and return them to the pile.
6.2 How to Use Compost
Compost is versatile and can benefit almost any garden project:
Soil Amendment: Mix into garden beds to improve fertility and structure.
Mulch: Spread a 2–3 inch layer around plants to retain moisture and suppress weeds.
Potting Mix: Combine with soil and sand for container gardening.
Lawn Top Dressing: Sprinkle thinly over grass to nourish roots.
Step 7: Tips for Successful Composting
Here are some final tips to make your composting journey smoother and more rewarding:
Start Small: Begin with a manageable amount of materials and scale up as you gain confidence.
Be Patient: Composting takes time, especially in cooler climates.
Educate Yourself: Learn about local regulations and resources, such as municipal compost programs.
Involve Others: Get family members or roommates involved to share the workload and spread awareness.
Final Thoughts
Composting is one of the simplest yet most impactful steps you can take toward sustainability. By turning everyday waste into nutrient-rich compost, you’re not just improving your garden—you’re contributing to a healthier planet. Whether you’re a seasoned gardener or a complete beginner, composting is a skill worth mastering. So grab a bin, gather your scraps, and start transforming trash into treasure. Happy composting!
Would you like me to refine or expand on any section?