
Introduction
When I first started gardening, I underestimated the power of mulch. I thought it was just for aesthetics—a way to make flower beds look tidy and polished. But over time, I discovered that mulch is so much more than decorative. It’s a gardener’s secret weapon, helping to conserve moisture, suppress weeds, regulate soil temperature, and even improve soil health. Whether you’re growing vegetables, flowers, or shrubs, learning how and when to mulch your yard can transform your garden into a thriving oasis. In this guide, Mulch 101, we’ll cover everything you need to know about mulching: its benefits, types, application techniques, and timing. Let’s get started!
Step 1: Understanding Mulch and Its Benefits
Before diving into the “how” and “when,” let’s explore what mulch is and why it’s such an essential tool for gardeners.
1.1 What Is Mulch?
Mulch is any material spread over the surface of the soil to protect and enhance it. It acts as a protective layer, shielding the soil from environmental stressors while providing numerous benefits to plants.
1.2 Why Mulch Matters
Mulching offers a wide range of advantages for your yard:
Moisture Retention: Reduces evaporation, keeping soil moist and reducing the need for frequent watering.
Weed Suppression: Blocks sunlight, preventing weed seeds from germinating and competing with your plants.
Temperature Regulation: Insulates soil, keeping roots cool in summer and warm in winter.
Soil Health: Organic mulches break down over time, adding nutrients and improving soil structure.
Erosion Control: Prevents rainwater from washing away topsoil, especially on slopes.
Aesthetic Appeal: Creates a clean, finished look that enhances the beauty of your landscape.
Step 2: Types of Mulch
Choosing the right type of mulch depends on your goals, climate, and the specific needs of your garden. Here are the most common options:
2.1 Organic Mulches
These decompose over time, enriching the soil but requiring periodic replenishment:
Wood Chips: Great for trees, shrubs, and pathways; breaks down slowly.
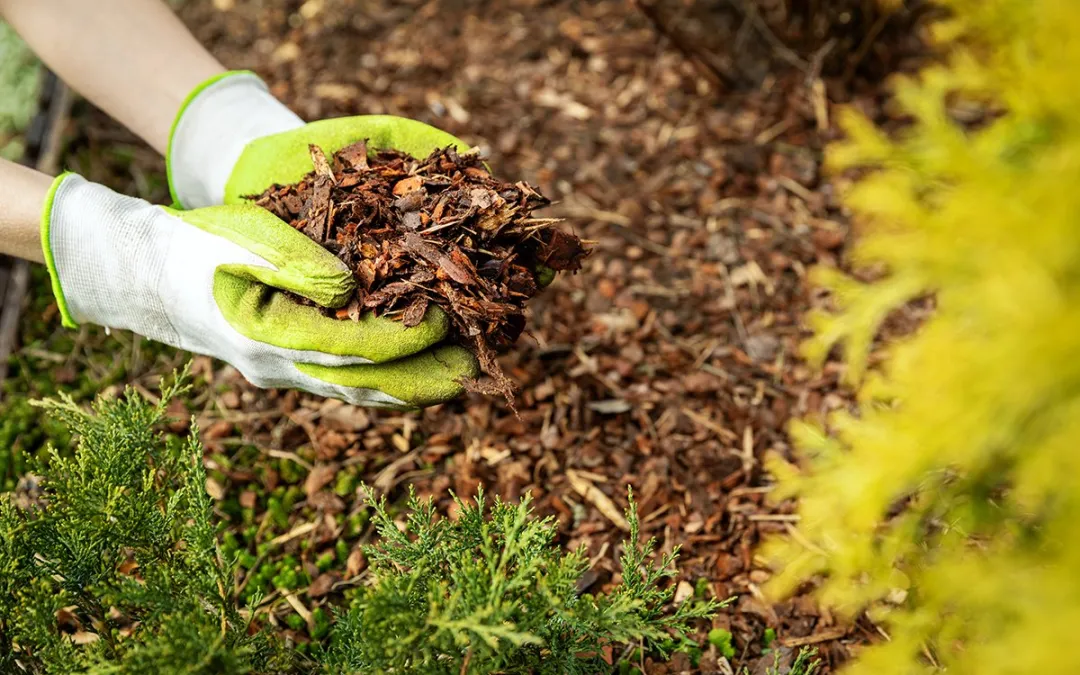
Shredded Bark: Ideal for flower beds; provides a natural, rustic look.
Straw: Perfect for vegetable gardens; lightweight and affordable.
Grass Clippings: Free and nutrient-rich; best for informal areas.
Leaves: Shredded leaves make excellent mulch; they decompose quickly and add organic matter.
Pine Needles: Acidic, making them ideal for acid-loving plants like azaleas and blueberries.
2.2 Inorganic Mulches
These don’t break down and are more durable but don’t improve soil health:
Gravel or Stone: Long-lasting and great for xeriscapes or areas prone to erosion.
Landscape Fabric: Suppresses weeds but should be used sparingly to avoid suffocating soil.
Rubber Mulch: Made from recycled tires; good for playgrounds but not recommended for edible gardens.
2.3 Choosing the Right Mulch
Consider these factors when selecting mulch:
Plant Type: Acid-loving plants benefit from pine needles; vegetables thrive with straw or compost.
Climate: Light-colored mulches reflect heat in hot climates, while dark mulches absorb warmth in cooler regions.
Budget: Wood chips and leaves are cost-effective, while rubber and stone are pricier.
Step 3: How to Apply Mulch Properly
Proper application ensures that mulch delivers its full range of benefits without causing harm.
3.1 Prepare the Area
Before applying mulch, prep your garden beds:
Remove weeds and debris to prevent them from growing through the mulch.
Loosen compacted soil to improve airflow and water absorption.
3.2 Determine the Right Depth
Apply mulch at the correct thickness for optimal performance:
Organic Mulches: Aim for a 2–4 inch layer. Too thin won’t suppress weeds; too thick can suffocate roots.
Inorganic Mulches: Follow manufacturer recommendations, typically 1–2 inches for gravel or stone.
3.3 Keep Mulch Away from Stems and Trunks
Avoid piling mulch directly against plant stems or tree trunks, as this can cause rot and attract pests. Leave a small gap (about 2–3 inches) around the base of plants.
3.4 Spread Evenly
Use a rake or hands to distribute mulch evenly across the bed. For large areas, consider using a wheelbarrow to transport mulch efficiently.
Step 4: When to Mulch Your Yard
Timing is key to maximizing the benefits of mulch. Here’s when to apply it throughout the year:
4.1 Spring Mulching
Spring is the ideal time to refresh mulch after winter:
Replenish existing mulch to maintain depth.
Add new mulch to newly planted beds or bare soil.
Use light-colored mulches to keep soil cooler as temperatures rise.
4.2 Summer Mulching
Summer mulching helps conserve moisture during hot, dry months:
Apply a fresh layer if the existing mulch has thinned out.
Focus on vegetable gardens and containers, which dry out quickly.
4.3 Fall Mulching
Fall is perfect for preparing your garden for winter:
Spread a thick layer of mulch to insulate roots and protect against frost.
Use shredded leaves or straw, which break down naturally over winter.
4.4 Winter Mulching
In cold climates, winter mulching protects perennials and bulbs:
Wait until the ground freezes before applying mulch to prevent rodents from nesting.
Use evergreen boughs or straw for added insulation.
Step 5: Troubleshooting Common Mulching Issues
Even with proper care, mulching can sometimes lead to problems. Here’s how to address them:
5.1 Mold or Fungus Growth
Fungi like slime mold may appear on organic mulch, especially in wet conditions:
Don’t worry—it’s usually harmless and breaks down naturally.
Rake the mulch to aerate it and reduce moisture buildup.
5.2 Compaction
Over time, mulch can become compacted, reducing its effectiveness:
Fluff it up with a rake or fork to restore airflow and drainage.
5.3 Nitrogen Deficiency
Fresh wood chips or sawdust can temporarily deplete nitrogen in the soil as they decompose:
Add a nitrogen-rich fertilizer or compost to compensate.
5.4 Pests Under Mulch
Rodents or insects may take shelter under thick layers of mulch:
Avoid piling mulch too deeply and keep it away from building foundations.
Step 6: Creative Ways to Use Mulch
Mulch isn’t just functional—it can also elevate your garden’s design. Here are some creative ideas:
Pathways: Use gravel or wood chips to create attractive, low-maintenance walkways.
Accent Borders: Line garden beds with contrasting mulch colors for visual interest.
Container Gardens: Top dress pots with decorative mulch for a polished look.
Play Areas: Rubber mulch provides a safe, cushioned surface for kids’ play zones.
Final Thoughts
Mulching is one of the simplest yet most effective ways to care for your yard. By conserving moisture, suppressing weeds, and enhancing soil health, mulch supports both your plants and the environment. With the right type, application technique, and timing, you can unlock its full potential and enjoy a healthier, more beautiful garden. So grab your rake, choose your favorite mulch, and start transforming your yard—one layer at a time!
Would you like me to refine or expand on any section?